I modeled for students how to use a character map to show how an author develops a character in a story. My students don't normally struggle with finding examples from the text to support each trait, rather they struggle to explain why the example is evidence of the trait. To help push their examples to a higher level, I had students color code their writing. Text in black was the paraphrased example from the book. Text in red was their own thinking for why the example supported the character trait.
For guided practice, I had students complete a character map for the characters of Edwin and Garvey. Early in the story, both men serve as mentor characters to Cole. We first brainstormed character traits to describe Edwin and Garvey. Here was our list:
Students pulled up the character map on their Chromebooks, typed 'Edwin and Garvey' into the character box and selected three character traits from the board that they wanted to prove and explain with evidence from the text. Students skimmed chapters 1 & 2 (which we had read on a previous day) to find examples.
This student found two examples from the text that supported the fact that Edwin and Garvey are wise, helpful, and patient men.
Our next lesson required students to use their character maps to respond to a prompt about how Ben Mikaelsen develops characters in
Touching Spirit Bear. I modeled how to analyze a prompt by color-coding each of the expectations of the prompt. As I started drafting, I color-coded each section to show where in my draft I addressed each part of the prompt.

Students then went in and color-coded their writing to identify areas where they weren't answering the prompt. This process helps students realize there are many things a writer may need to pay attention to in a prompt in order to receive full credit. The Smarter Balanced Assessment will definitely require students to analyze a prompt and respond to multiple parts!
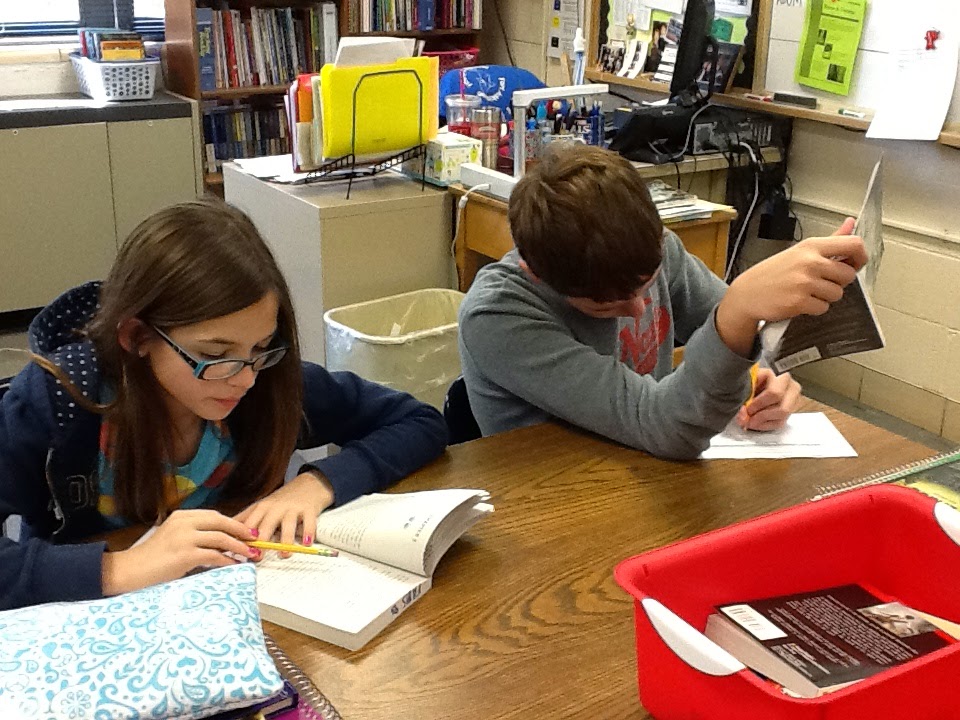
The next day, students read Ch. 3 & 4 on their own and practiced using context clues independently. As they read, they recorded two examples of difficult words as they read, what they inferred them to mean, and the context clues that helped them understand better.

Later on that day, students shared their words/charts with a partner.
Partners picked two of their words to create a Context Clues poster together. The following expectations were posted on the board for students to use as a guide.

Here was the sample Context Clues poster I made so students had an idea of what the final product should look like.

When students felt they were 'done', I handed them a mini-checklist to help them assess whether they had everything they needed on the poster.


No comments:
Post a Comment